Home / Masking a Room for Spraying
Masking a Room for Spraying
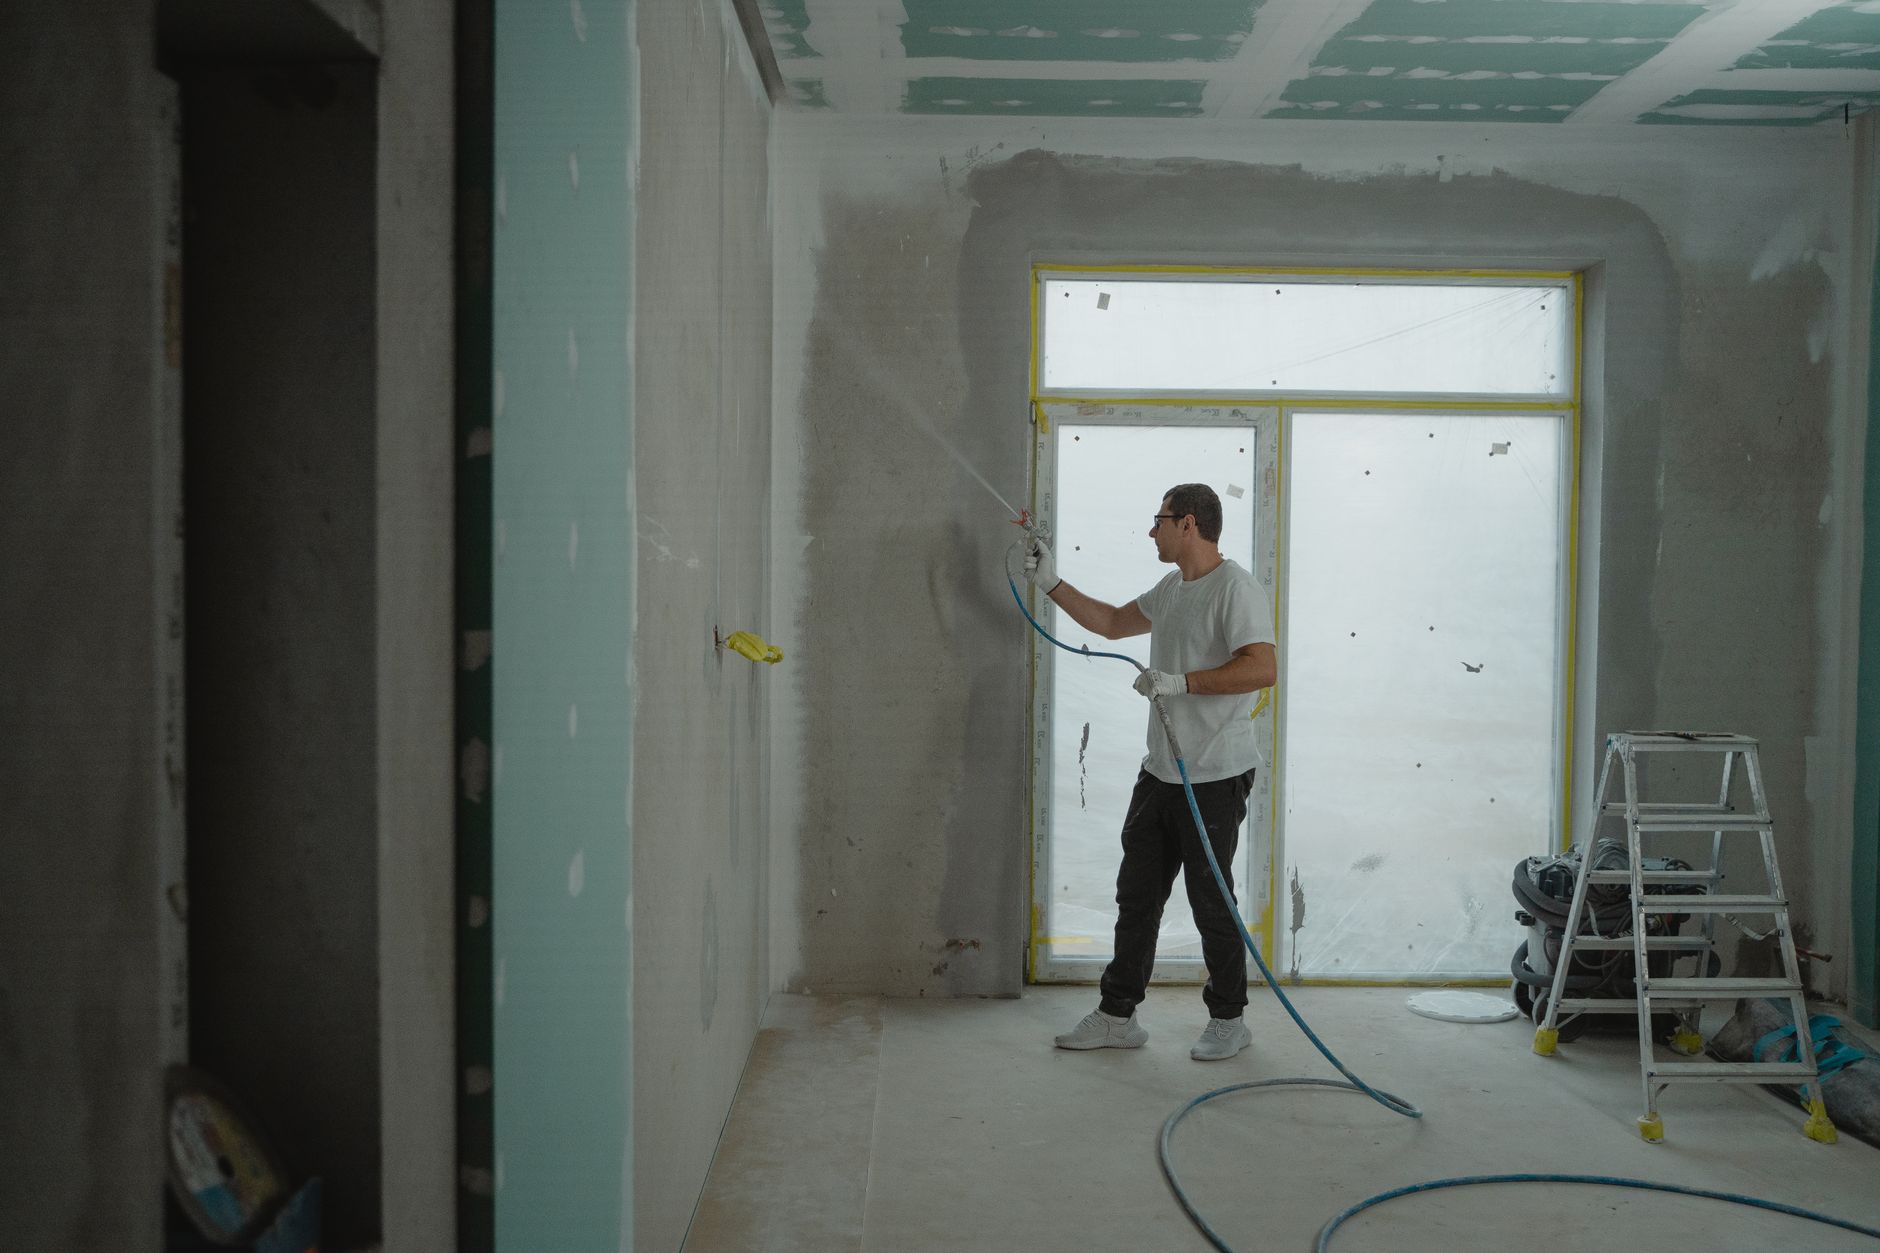
Preparing a Space for Paint Spraying
Spray painting offers a smooth and professional finish that traditional brushing or rolling cannot match. However, the process releases a fine mist of paint particles into the air. These particles travel easily and can settle on every surface within a room and even in adjacent areas. Proper masking is the most critical step in the preparation process. Without thorough protection, a project can lead to significant cleanup challenges and damage to furniture, flooring, and ventilation systems.
Selecting Masking Materials
Different surfaces require different types of protection. Using the wrong material can lead to paint sticking to surfaces you intended to protect or causing damage when you attempt to remove the covers.
Plastic sheeting is ideal for covering large, irregular objects like sofas, large tables, or bulky electronics. It is lightweight and can be draped easily. However, thin plastic can tear if handled roughly. For flat surfaces or areas where you need more durability, heavy duty plastic or drop cloths are better options. Paper is frequently used for covering floors and creating borders along baseboards. Masking paper is thicker than plastic and provides a sturdy barrier that does not slide as easily. It is particularly effective for creating a crisp line between the wall and the floor.
Protecting the Floors
Floors are often the most difficult area to protect because they are walked upon during the project. If paint mist settles on a floor, it can be difficult to remove without scrubbing or scraping. You should choose your floor covering based on the material of the floor itself.
For hard surfaces like wood, tile, or laminate, heavy paper or specialized floor protection sheets are recommended. These materials absorb some of the impact and provide a stable surface. If you are working in a room with carpet, plastic sheeting is a common choice to prevent the fine mist from embedding in the fibers. Ensure that the plastic is taped securely at the edges where it meets the baseboard. If the plastic is loose, it can bunch up underfoot, creating a tripping hazard or causing the paint to pool in the folds.
Follow these steps for floor protection:
- Clear all small items, rugs, and debris from the floor.
- Lay down the paper or plastic, ensuring a wide coverage area that extends beyond the immediate painting zone.
- Use painter tape to secure the edges of the material to the baseboards or the floor itself.
- Overlap any seams in the paper or plastic to prevent paint from seeping through the gaps.
Covering Furniture and Large Objects
Moving heavy furniture out of the room is the safest method, but it is not always possible. If furniture must remain, it requires comprehensive wrapping. Do not simply throw a sheet over an item. The air movement from the sprayer can blow the sheet aside, exposing the object to paint.
For smaller items, move them to a different room or a sealed area. For large items, use plastic sheeting to wrap the object from top to bottom. Secure the plastic with tape around the base of the item to create a seal. If you are covering a chair or a table, ensure the plastic reaches the floor to prevent mist from drifting underneath the legs and settling on the floor or the underside of the furniture.
Sealing Vents and Airflow
One of the most overlooked aspects of masking is the ventilation system. Air ducts and vents act as vacuums, pulling air from the room and distributing it throughout the entire house. If you spray paint in a room with open vents, the mist will enter the ductwork and settle on the interior of the system. This can cause odors to persist for a long time or even lead to paint particles being blown out of vents in other rooms.
To prevent this, you must seal every vent in the room. Use plastic sheeting and tape to create a complete seal over the registers. The plastic should be larger than the vent itself to ensure no gaps remain around the edges. If the room has a central heating or cooling system, consider sealing the main return air vent as well. Once the painting is complete and the paint is fully dry, you can remove the seals. It is important to wait until the air is clear before reopening the vents to avoid circulating any remaining airborne particles.
Final Inspection Before Spraying
Before turning on the sprayer, perform a final walk through the room. Check for the following details:
- Verify that all edges of the tape are pressed down firmly to prevent paint from bleeding under the tape.
- Ensure that no gaps exist in the plastic covering the furniture.
- Check that all floor coverings are flat and free of large wrinkles that could catch paint.
- Confirm that all vents and air returns are completely covered and sealed.
- Ensure that any light fixtures or ceiling fans are covered with plastic to prevent dust and paint from settling in the hardware.
Taking extra time during this phase ensures that the actual painting process is efficient and that the cleanup is manageable. A well masked room allows you to focus on the application of the paint rather than worrying about accidental spills or overspray.